How to Design a Custom Corrugated Display: A Step-by-Step Guide
Your product deserves to stand out. In the high-stakes environment of retail, trade shows, or in-store promotions, a generic display simply won’t cut it. A well-designed custom corrugated display is a powerful, cost-effective solution to capture attention, drive sales, and solidify your brand identity. But how do you transform a simple idea into a high-impact, structural masterpiece? At GRAND FLY, we specialize in this very transformation. This step-by-step guide will walk you through our proven process for designing a custom corrugated display that gets real-world results.
Step 1: Define Your Objective & Audience
Before you sketch a single line, you must answer the “why.”
✅ What is the primary goal? Is it to launch a new product, clear out old inventory, or simply increase brand awareness?
✅ Who are you talking to? Understanding your target demographic (age, interests, shopping habits) is crucial for design, messaging, and functionality.
✅ What action do you want them to take? Pick up a product? Scan a QR code? Take a social media photo?
Pro Tip: A display designed for a children’s toy will look and function entirely differently from one for luxury cosmetics. Clarity here informs every subsequent decision.
Step 2: Conceptualize the Design & Structure
This is where your vision takes shape. Consider the following:
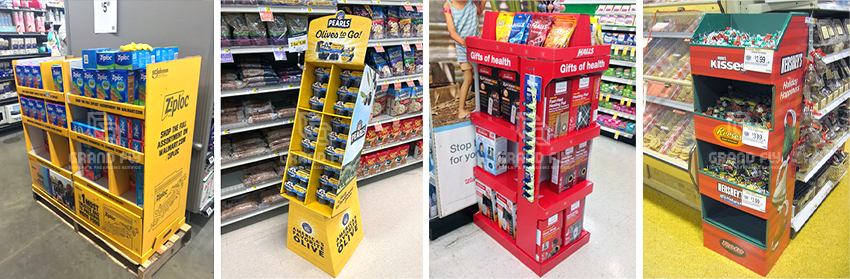
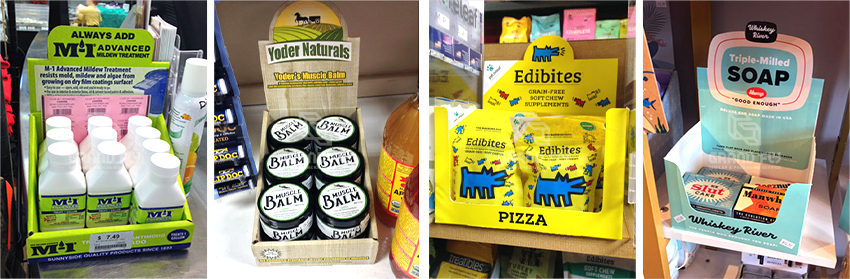
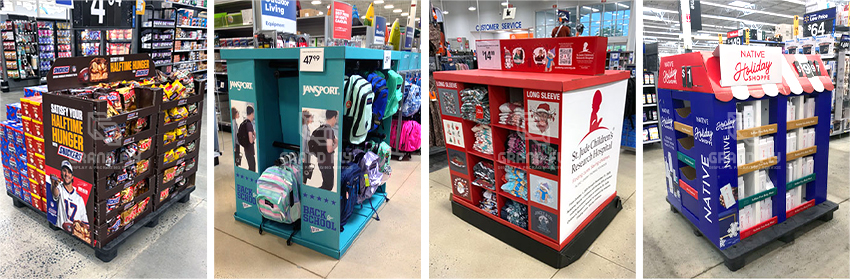
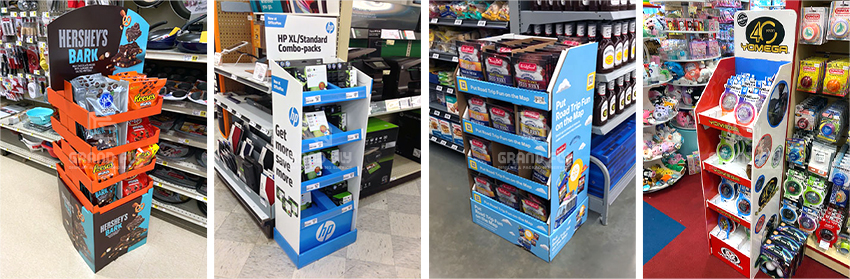
✅ Display Type: Do you need a countertop display, a free-standing floor display, a shelf talker, or a large-scale gravity-fed bin?
✅ Footprint & Dimensions: How much space is allocated for the display? Measure the width, depth, and height restrictions of the retail environment.
✅ Functionality: Will it hold products securely? Does it need to be self-service? Should it incorporate digital elements or lighting?
At this stage, partnering with an experienced corrugated display manufacturer is invaluable. By working with GRAND FLY, our engineering team provides expert advice on structural integrity, material strength, and the most efficient design for your needs.
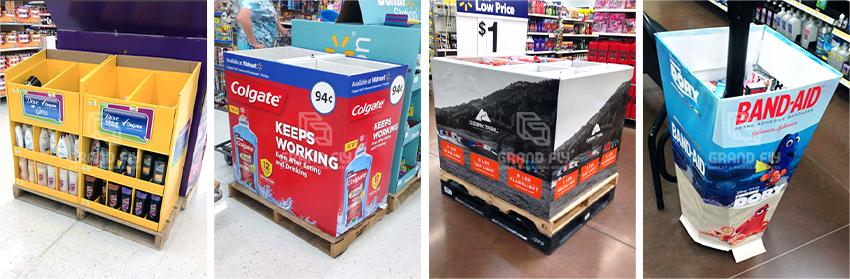
Step 3: Select the Right Materials
Not all cardboard is created equal. The choice of corrugated material impacts durability, print quality, and overall impression.
Cardboard Grade
We typically work with:
✅ B-Flute: Thinner, excellent for high-quality printing and smaller displays.
✅ E-Flute: A great balance of strength and a smooth surface for fine printing.
✅ BC/Double-Wall Flute: For heavy products or large structures requiring superior strength.
Special Finishes
Consider laminated finishes or protective coatings to enhance durability and scuff-resistance, especially for high-traffic areas.
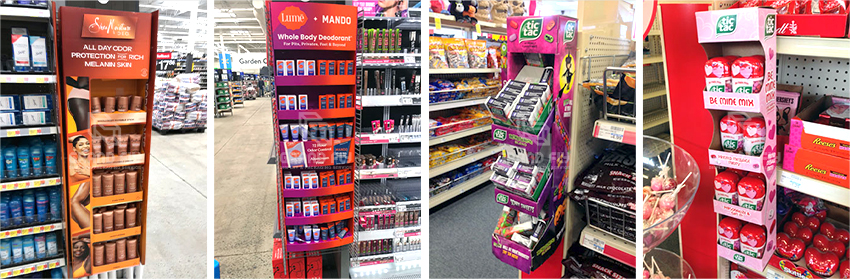
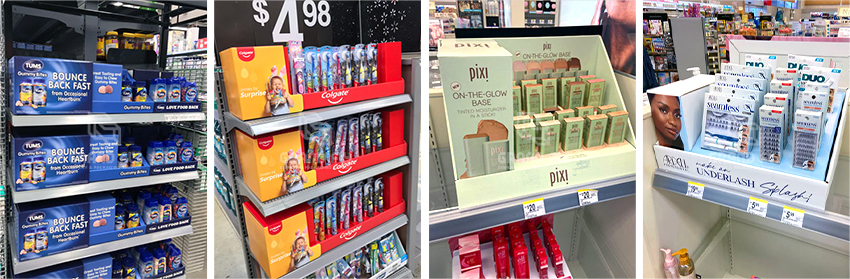
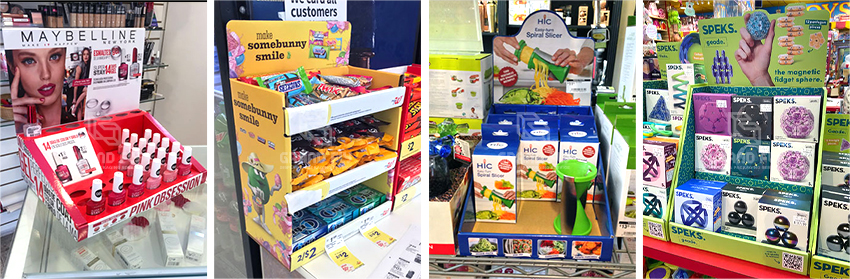
Step 4: Craft Compelling Graphics & Messaging
Your graphics are the voice of your display. They must stop shoppers in their tracks.
✅ High-Resolution Imagery: Use bold, vibrant, and professional photos or illustrations.
✅ Concise Copy: Your message should be short, powerful, and easy to read from a distance. Focus on the key benefit or offer.
✅ Brand Consistency: Ensure all colors, fonts, and logos are on-brand to reinforce brand recognition.
✅ Call-to-Action (CTA): Don’t forget a clear CTA like “Try Me!”, “Scan to Save,” or “New & Improved!”
Step 5: Incorporate Structural Graphics & Dielines
This is the technical heart of custom corrugated display design. A dieline is a digital template that outlines every cut, fold, and perforation.
✅ Precision is Key: An accurate dieline ensures the display assembles quickly and perfectly, without gaps or misaligned graphics.
✅ Bleed and Safety Zones: Your designer must account for bleed (extra image area trimmed off) and safety zones (where critical text is kept safe from trimming).
✅ Expert Review: Our design team meticulously reviews all dielines to prevent costly errors and ensure manufacturability.
Step 6: Prototype and Test
Never go straight to a full production run. A physical prototype allows you to:
✅ Check Structural Integrity: Does it hold the weight? Is it stable?
✅ Test Assembly: How long does it take to assemble? Is it intuitive? This is critical for store staff.
✅ Evaluate the User Experience: Interact with the display as a customer would. Is it engaging?
Step 7: Finalize Production & Assembly
Once the prototype is approved, it’s time for mass production. A full-service partner will handle:
✅ High-Quality Printing: Using advanced digital or litho-laminating printing techniques for stunning graphics.
✅ Precision Die-Cutting: Cutting the corrugated boards according to the approved dieline.
✅ Kitting & Logistics: We can pre-fold, bundle, and ship your displays, ready for easy assembly at their destination, saving you and your clients time and frustration.
Ready to Design Your High-Impact Corrugated Display?
Designing a successful custom corrugated display is a blend of art, science, and strategic marketing. By following this guide and partnering with a manufacturer who understands your vision, you can create a powerful in-store marketing tool that delivers an exceptional return on investment.
At GRAND FLY, we live and breathe cardboard displays. From the initial concept to the final delivery, our team of experts is here to guide you through every step, ensuring your display is not just well-designed, but perfectly engineered for success.
Let’s turn your vision into a display that commands attention and drives sales.


